How do I create an invoice from outside the calendar?
Everything you do should be a reflection of your practice's professional brand, with this in mind the system provides all the tools you need to quickly and easily generate professional looking invoices for every appointment.
This tutorial will guide you through the process of creating an invoice directly from the invoice area of the system.
Navigate to Client >>> Accounts
![]()
By default, the last client you were working with will already be selected. If not, you be asked to choose a client from your database.

If you do not see them in the list, you can search for them by first name, last name, client number, phone number or email address.
Use the Blue Screen icon ![]() adjacent to the client's name to select the correct profile.
adjacent to the client's name to select the correct profile.
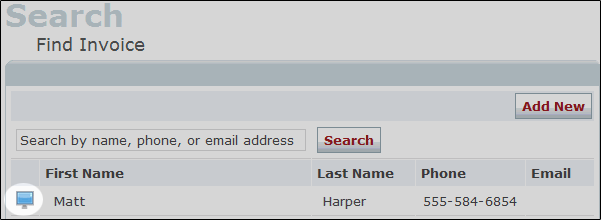
Alternatively, you can click the Add New button ![]() to create a new client. Click here for more information on how to do this.
to create a new client. Click here for more information on how to do this.

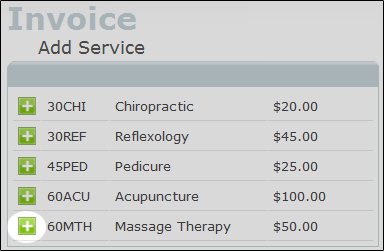
Once you have selected the appropriate client, you can add a service to the invoice by clicking the green Add icon ![]() .
.

Here, you can select a service, or if you have unpaid appointments you can select those from the Open Appointments list.
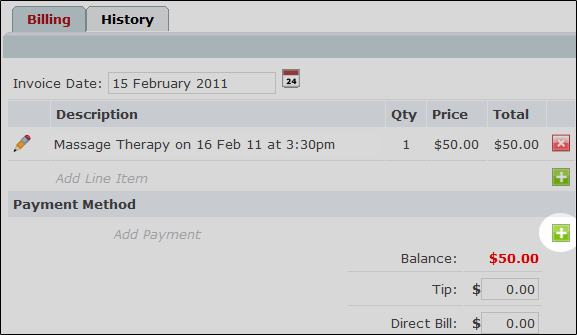
Next, click on the green Add icon ![]() to add a payment type to your invoice.
to add a payment type to your invoice.
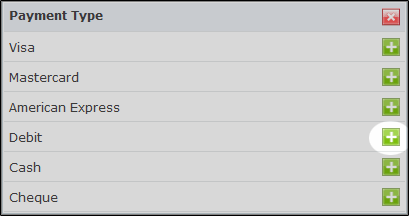
Choose your payment type from the list by click on the green Add icon ![]() beside the appropriate method of payment.
beside the appropriate method of payment.
If necessary, use the tip box to record gratuities received.
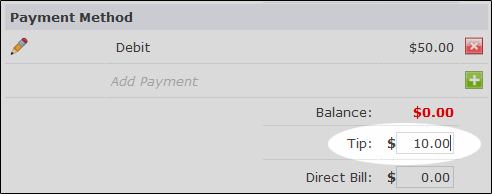
Now click on the Post button ![]() to save and complete the invoice.
to save and complete the invoice.
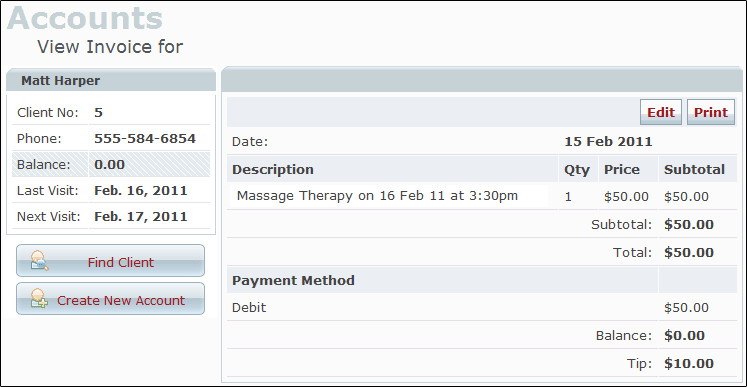
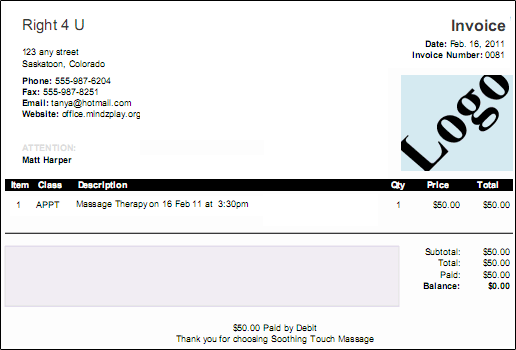
To print your finished invoice, click on the Print button ![]() to open and print a copy of the invoice for your clients.
to open and print a copy of the invoice for your clients.
Click Here To learn "How to Create a Basic Invoice"
Click Here To learn "How do I create a split payment when billing?"